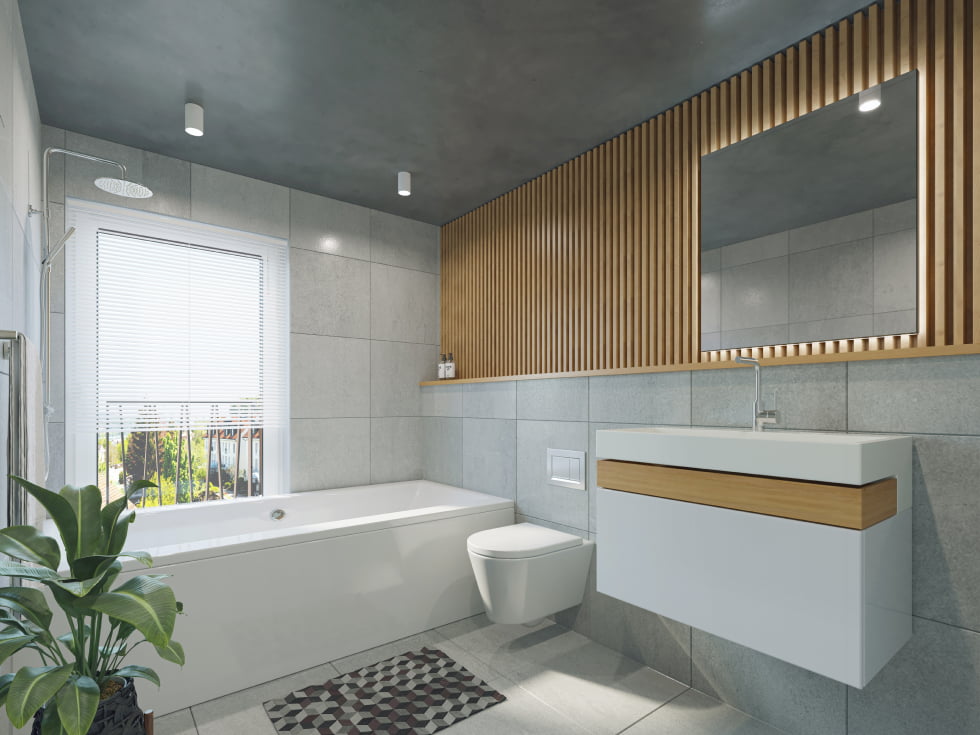
Are you a weekend warrior looking to spruce up your bathroom without breaking the bank? With the right tools, materials, and a can-do attitude, you can tackle bathroom renovations like a pro. This step-by-step guide will walk you through the process of transforming your bathroom into a space you'll love, all on your own. So roll up your sleeves, grab your toolbox, and let's get started!
Professional bathroom renovations involve hiring a team of skilled professionals to update and transform your existing bathroom space. This can include a range of services such as plumbing work, tiling, cabinetry installation, and electrical upgrades. These professionals have the expertise and experience to ensure that the renovation is completed efficiently and to a high standard.
Planning Your Bathroom Renovation
Assess Your Space
- Take measurements of your bathroom to determine what changes can be made.
- Identify problem areas that need to be addressed, such as outdated fixtures or lack of storage.
- Consider your budget and prioritize the updates you want to make.
Gather Inspiration
- Browse home improvement magazines, websites, and social media for inspiration.
- Create a mood board or Pinterest board to keep track of your favorite design ideas.
- Consider the overall style you want to achieve, whether it's modern, traditional, or eclectic.
DIY Bathroom Renovation Steps
1. Demolition
Before you can start building, you'll need to tear out the old. Here's how to tackle the demolition phase:
- Turn off water supply and disconnect plumbing fixtures.
- Remove old tiles, flooring, vanity, and any other fixtures that need to be replaced.
- Dispose of debris responsibly or consider recycling materials that can be salvaged.
2. Plumbing and Electrical Work
If your renovation plans involve moving plumbing or electrical fixtures, it's crucial to follow safety guidelines and local codes. Here's what you need to do:
- Hire a licensed professional for complex plumbing and electrical work.
- Ensure all connections are secure and up to code before proceeding with the next steps.
- Consider updating fixtures for a fresh look and improved functionality.
3. Installing New Fixtures
Now comes the fun part – putting everything back together with new fixtures and features. Follow these steps for a successful installation:
- Install new flooring, tiles, and backsplash to freshen up the space.
- Mount a new vanity, sink, and faucet for a modern look and improved storage.
- Replace old lighting fixtures with energy-efficient options for better illumination.
4. Painting and Finishing Touches
The final steps involve adding paint and finishing touches to complete the look of your renovated bathroom:
- Choose a color scheme that complements your overall design and enhances the space.
- Apply a fresh coat of paint to the walls, ceiling, and trim for a polished finish.
- Add decorative elements such as mirrors, shelving, and artwork to personalize the space.
Tips for Success
Work Smart
- Plan your renovation projects on weekends or days off to avoid rushing through the process.
- Take breaks as needed to avoid burnout and ensure quality workmanship.
- Invest in quality tools and materials that will last for future DIY projects.
Seek Help When Needed
- Don't hesitate to consult with professionals for guidance on challenging tasks.
- Ask friends or family members to assist with heavy lifting or complicated installations.
- Join online forums or DIY communities for advice and support from experienced renovators.
Conclusion
By following this step-by-step guide, you can tackle bathroom renovations like a pro and create a space that reflects your style and personality. With careful planning, the right tools, and a bit of elbow grease, you can transform your bathroom into a sanctuary you'll enjoy for years to come. So gather your supplies, roll up your sleeves, and get ready to tackle your next DIY project!

